

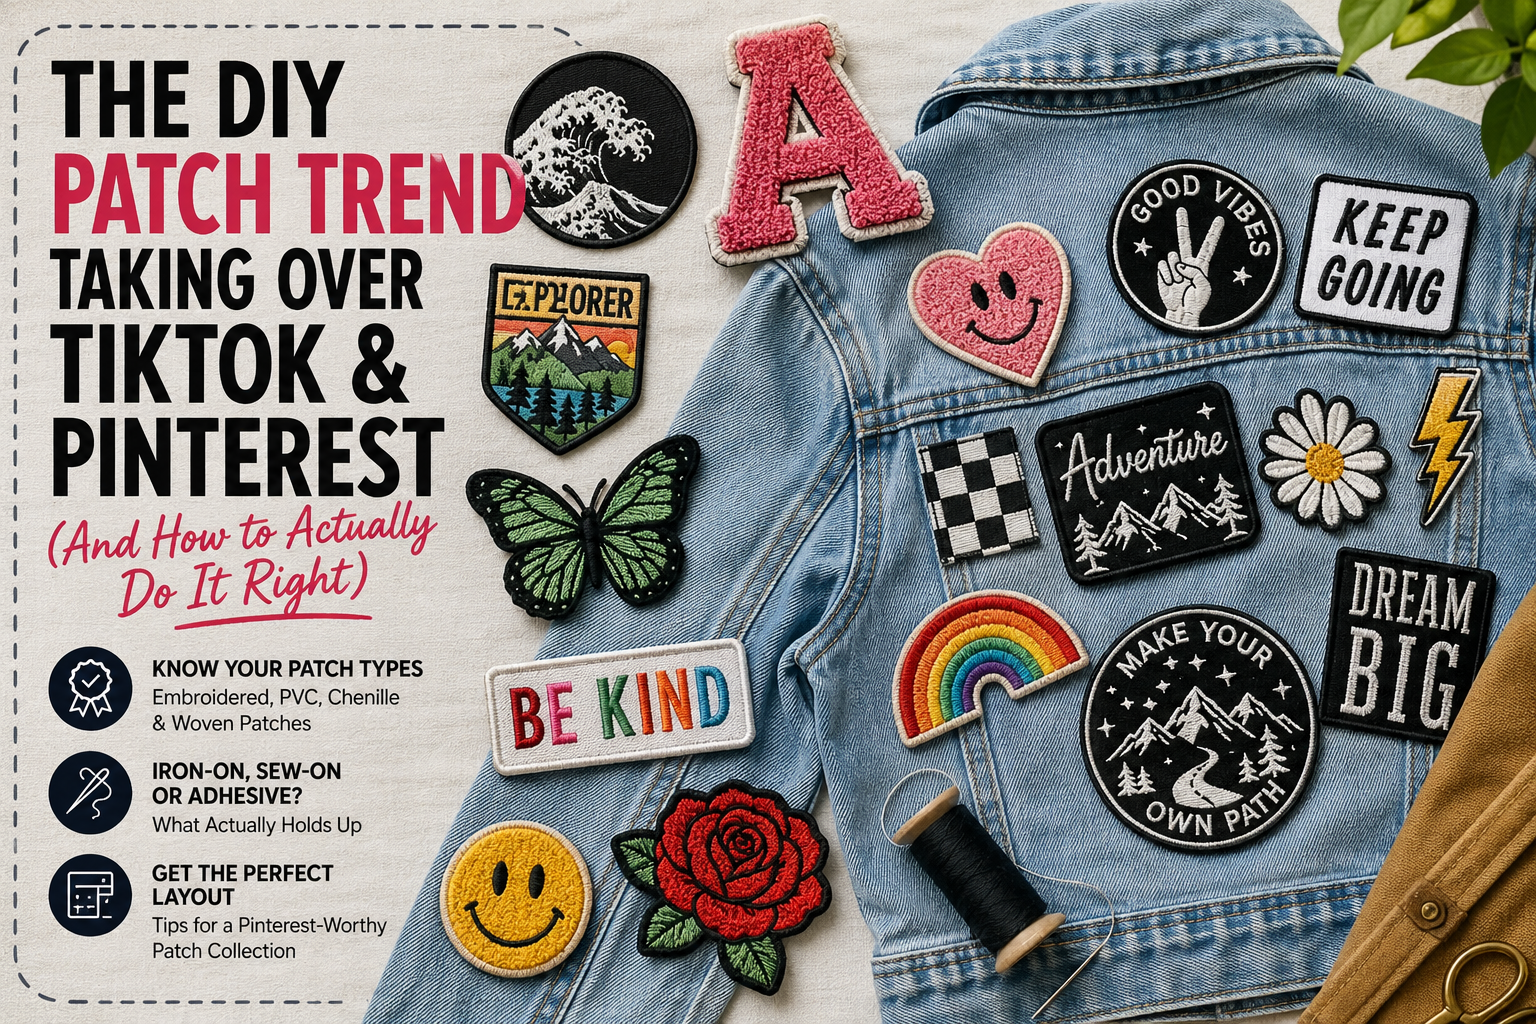
The DIY Patch Trend Taking Over TikTok and Pinterest (And How to Actually Do It Right)
You may be three swipes away from a “patch your jacket with me” video if you open TikTok right now. Pinterest boards are filled with thrifted bags and denim coats that are completely covered with patches. obtaining a complete patchwork makeover and “patch flatlay” beautiful pictures including dozens of small badges perfectly positioned. Unlike many TikTok trends, DIY patch customization has quietly emerged as one of the biggest personalization trends in fashion. This trend is here to stay because it appeals to a desire that people have had for decades: transforming a generic, mass-produced item of clothing into something that is uniquely theirs.
The real material science of why some patches withstands a hundred washes and others come off after just one dryer run is what most of these tutorials omit. Whether you’re a creative, a small business, or just someone with a jeans jacket and an afternoon to waste, it helps to truly grasp what you’re dealing with if you’re going to jump on this trend. Let’s dissect it.
Why This Trend Exploded (And Why It’s Not Slowing Down)
The current popularity of DIY patches is the result of several factors coming together. Patches are the simplest method to make a $8 thrift shop jacket appear purposeful rather than merely worn out. Secondhand and thrifted fashion became popular. Visible, layered patchwork was a major component of both Y2K and grunge esthetics, which made a strong comeback. Additionally, for a few years now, customization in general—such as monogramming, charm necklaces, and personalized sneakers—has been popular in every aspect of fashion. In the center of it all are patches, which are inexpensive, quick, reversible with the correct technique, and very inventive.
When you combine this with the fact that patches are naturally photogenic—flat lays of patch collections do particularly well on Pinterest—you have a trend that will last longer than a two-week TikTok fad.
Know Your Patch Types Before You Buy (This Is Where Most DIYers Get It Wrong)
Many posts regarding disappointment, such as “my patch fell off after one wash” or “the edges are already fraying,” are caused by purchasing the incorrect patch type for the job rather than applying it incorrectly. The actual distinction between what you’ll discover is as follows:
Stitched thread on a twill background with a merrowed (rolled) edge is used to create embroidered patches. Because the twill backing can withstand repeated folding and movement without splitting, they are the traditional option for canvas bags and denim jackets. This is nearly usually what you’re looking for if you want the classic, textured “patch collection” appearance that you see on Pinterest jacket flatlays. Check out Embroidered Patches for the widest range of designs and sizes for this exact use case.
Because PVC (rubber) patches are molded rather than sewn, there is no fraying, which is crucial if your project, such as a backpack or festival jacket, is going to be used in an area with dirt, rain, or intense outdoor activity. They function well on flatter surfaces rather than places where there is a lot of fabric movement since they are more stiff than stitched patches. Browse PVC Patches if your DIY project needs to survive actual weather, not just a photoshoot.
A significant portion of the current varsity-jacket esthetic trend is driven by chenille patches, which are soft, oversized-letter patches. They’re all over jacket-customization content right now because of their thick, tufted texture, which reads as high-end and vintage-inspired. See Chenille Patches for that bold, collegiate letter look.
For small, delicate patterns, such as tiny icons, fine writing, or exquisite line art, woven patches are a preferable option since they employ finer thread density than regular embroidery, which would lose the detail in stitch mass. If your DIY design has small text or fine linework, Woven Patches will hold up far better than standard embroidery at small sizes.
Iron-On, Sew-On, or Adhesive: What Actually Holds Up
This is the technical part every “easy patch hack” video glosses over, and it’s the single biggest reason patches fail on DIY projects.
A heat-activated adhesive film is adhered to the patch’s back using iron-on backing. It melts under pressure and heat, then cools to fuse into the foundation fabric’s weave. The catch is that it attaches best to natural or natural-blend materials like denim and cotton canvas and requires prolonged heat (usually 300–350°F/150–175°C applied for 15–30 seconds with strong, steady pressure). Leather, waxed or waterproof jackets, and synthetic performance fabrics, heat-sensitive materials that might burn or deform before the glue completely sets, all have poor bonding properties. If the margins of your iron-on patch are peeling, it’s usually typically due to inadequate heat, inadequate time, or the incorrect base fabric rather than a defective patch.
For anything that will be subjected to actual use and frequent washings, sewing is actually the most resilient technique. For military and workwear patches that must endure years of usage, sew-on is still the norm since there is no glue to deteriorate with time, just thread binding fabric to cloth. A hand-sewn patch with a basic whip stitch around the merrowed edge will always outlive an iron-on version on the same garment, but it requires more work than ironing.
The quickest and most practical choice for temporary placement, figuring out your patch arrangement on a jacket before committing, is adhesive/peel-and-stick backing, but it’s not intended to be a long-term solution. Treat it as a planning tool, then finish with iron-on or sew-on once you’ve settled on final placement.
If you truly want to switch out patches rather than settling on a single permanent arrangement, velcro (hook and loop) backing is something to think about. It’s the most adaptable choice for anyone who views their patch collection as a seasonal, changing endeavor rather than a one-time undertaking.
Getting the Pinterest-Worthy Patch Layout
If your goal is the full patch-covered jacket look that performs so well on Pinterest boards, a few things separate the layouts that look intentional from ones that look cluttered:
Instead of utilizing all the same-sized patches, which leads to visual monotony, vary the sizes and forms of your patches. Instead of crowding patches edge to edge, leave little spaces of visible foundation fabric between them; this makes the patches appear curated rather than jammed. Instead of giving each patch equal weight, anchor the arrangement with one or two larger focal patches (such as a larger embroidered motif or a chenille letter) and surround them with smaller patches.
Common DIY Patch Mistakes (And the Material Reason Behind Each)
Patches that peel off after washing are nearly typically caused by iron-on adhesive that was either put to a fabric type that iron-on adhesive doesn’t adhere well to in the first place, such waterproof nylon, or it wasn’t given enough heat or time to adequately bond.
Fraying patch edges typically indicate an embroidered patch without a correct merrowed border or a patch that has been repeatedly stretched at a garment’s high-movement point, such as an elbow or a bag strap.
In comparison to the reference photo, the patch appears flat and lifeless. This is sometimes a clue that the original was a 3D or chenille patch, but a normal flat stitched version was used instead, changing the design’s overall visual weight.
Colors faded quickly: Depending on the material, sunlight and repeated washing degrade dye differently. PVC often retains color longer under UV exposure than embroidery thread, so it’s important to be aware of this if your project involves something that is frequently worn outside.
Turning the Trend into Something More Than a Personal Project
Minimum order amounts are much more important. For personal usage, purchasing five or ten of a single design one-off is acceptable, but a tiny drop of 50–100 units greatly lower the cost per unit and is typically the threshold at which a patch-side project begins to seem financially worthwhile. A batch of things intended for resale requires the type of uniform adherence and stitch quality that comes from competent production rather than a home iron, but hand-applying iron-on patches one at a time works for a personal jacket. Additionally, the backing selection should reflect how the product will be used by the customer: Velcro if you’re selling a patch as a standalone collectible piece people will swap between garments, sew-on or properly applied iron-on if you’re selling a finished, patch-already-attached product.
All of this does not mean that DIY must cease to be DIY; many tiny patch brands continue to apply everything by hand. It simply means that as quality and consistency need to scale, choices on backing and material that don’t matter much for a single personal jacket start to matter a lot.
Starting Your Own DIY Patch Project
Whether you’re customizing one jacket for yourself or building out a small patch drop to sell, the material choice you make at the start determines how the whole project ages. At USA Patches, we produce custom embroidered, PVC, chenille, and woven patches with the backing type built to match your actual project — not just whatever’s cheapest to manufacture.
Explore Embroidered Patches for the classic jacket-patch look, Chenille Patches for bold varsity-style letters, or PVC Patches if your project needs to survive real outdoor wear. Grab Patch Samples to feel the material difference before you commit to a full order, or reach out to our team for a free custom quote if you’re turning this trend into your own small patch brand.