
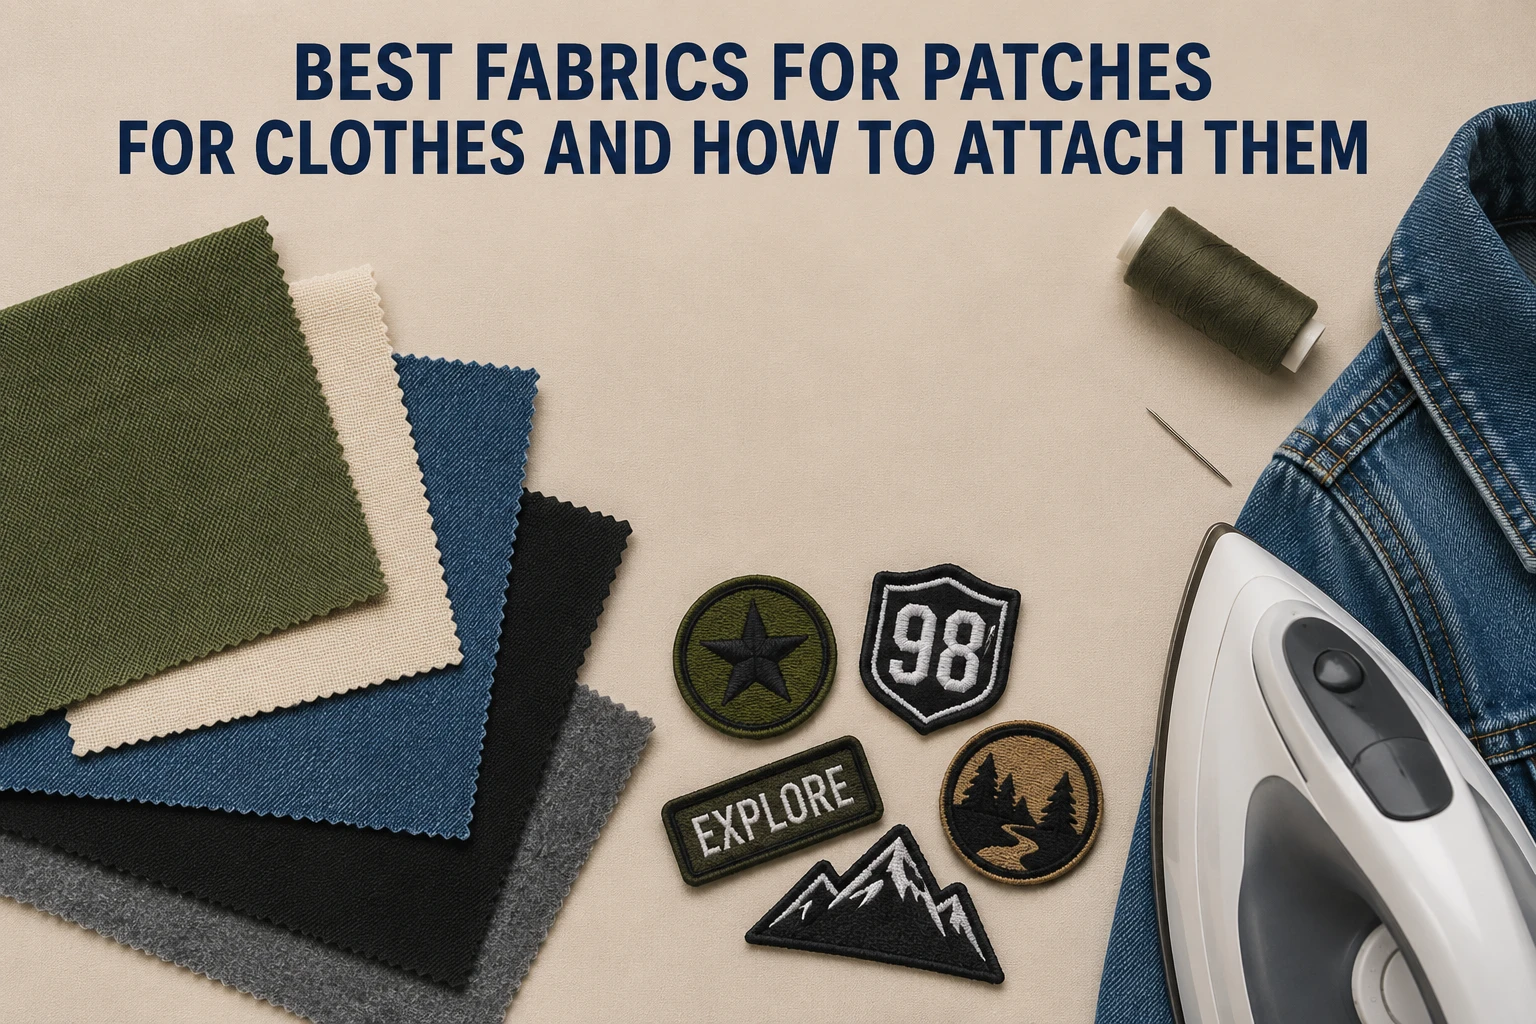
The correct fabric and attachment technique are what distinguish a patch that lasts for years from one that tears off after two washes, whether you’re representing your hockey team, customising a denim jacket, or adding branded patches to business uniforms.
We at Personalised Patch Makers Canada have assisted thousands of Canadians in producing premium personalised patches for bags, uniforms, apparel, and other items. Whether you’re stitching, ironing, or gluing, we’ve broken down the finest materials for clothing patches, what to avoid, and how to attach them.
Why Fabric Selection Is More Important Than You May Imagine
The majority of individuals overlook the surface the patch will be applied to, focusing instead on its design. That is incorrect.
The material beneath your patch establishes:
- How well the patch adheres (polyester and cotton react differently to iron-on adhesive)
- How long the patch endures wear and washing
- Whether the patch lifts, peels, or stays flat
- Which attachment technique is best?
Even the nicest custom-embroidered patch won’t stay put if you use the wrong foundation fabric. Let’s make sure you don’t experience it.
The Best Materials for Clothes Patches
Cotton Twill: The Best Option for Personalised Patches
Cotton twill is a fabric that all patch producers agree upon. Its tightly woven diagonal weave produces a firm, smooth surface that is ideal for holding both iron-on adhesives and embroidery stitches.
Why it functions
- manages intricate stitching without distortion or puckering.
- works well with adhesives that are activated by heat.
- Sturdy enough for bags, jackets, and uniforms.
- It comes in a variety of colours and weights.
For expertly embroidered patches, such as corporate logos or sports team crests, cotton twill is the preferred material. Twill is nearly always the preferred base fabric when ordering custom patches for uniforms or branded goods in Canada.
The Traditional Patch-Friendly Fabric: Denim
Patches and denim have been associated since the 1950s with motorcycle culture, and for good reason. Denim is highly forgiving, thick, and resilient; it can easily withstand heat pressing and sewing.
Ideal for:
- Vests and jackets made of denim
- Casual pants and jeans
- Totes and backpacks
Because denim absorbs heat uniformly, iron-on patches adhere to the cloth quite effectively. Denim is your best buddy when creating a band vest or patch jacket. Patches on denim are difficult to make mistakes on and often last for years or even decades.
Cotton: Adaptable and Easy for Novices
Even while plain cotton lacks twill’s tight diagonal weave, it’s still one of the best materials for iron-on clothing patches. It can be found on canvas bags, casual work shirts, hoodies, and t-shirts, all of which are ideal patch surfaces.
Expert advice: Use medium heat, not maximum, when applying patches to cotton. Cover the patch with a thin pressing cloth, then hold it there for 15 to 20 seconds. This thoroughly activates the glue without causing burning.
Cotton is perfect for sew-on patches used in team uniforms, school uniforms, and personalised clothing because it stitches nicely both by hand and by machine.
Canvas: Designed for Heavy Use
Typically composed of cotton or a cotton blend, canvas is a thick, durable fabric. Workwear, military gear, outdoor equipment bags, and tactical vests are all made of this fabric, which is excellent for patches that must withstand severe abuse.
Why canvas is effective for patching
- avoids distortion when handling thick embroidery stitching
- Outstanding resistance to heat in iron-on applications
- won’t deteriorate or fray after many washings
- A rustic, natural look that goes well with most patch types
Canvas is a premium foundation fabric that will last season after season, whether you require personalised patches for work equipment, military uniforms, or outdoor clothing.
Felt: Excellent for Vibrant, Basic Designs
Felt is a non-woven fabric that is particularly easy to deal with because of its dense, velvety texture and resistance to fraying. Finished edges are not necessary, and even hand stitching yields neat results.
Ideal for:
- Varsity letters and school patches
- Children’s handmade patches
- Costume or decorative patches
- Bold, uncomplicated logo designs
Felt isn’t the most resilient material for high-stress or frequently washed applications, so keep that in mind. However, felt is inexpensive, adaptable, and beginner-friendly for decorative patches, school badges, or anything that doesn’t encounter extreme circumstances.
Polyester: Wash-safe and resistant to fading
The two main characteristics of polyester, a synthetic fabric, are wash endurance and colour retention. It keeps needlework threads neatly and without bunching, and it won’t shrink.
Ideal for:
- Team uniforms and sports jerseys
- Sportswear and gym attire
- Work outfits that are regularly laundered
- Items exposed to the elements and the outdoors
The lone catch? Heat sensitivity affects polyester. High iron temperatures might cause the fabric to distort or create glossy scorch scars. Use a low-to-medium heat setting, sandwich a pressing cloth between the iron and the patch, and test on a hidden location before applying patches to polyester. Sewing the patch on is a better option because it is more secure and eliminates the chance of heat damage.
Leather, For Decades-Lasting Statement Patches
From high-end clothing to motorcycle club jackets, leather patches have a storied past. Leather has its own laws, yet the results look amazing and last for decades.
Important information: Leather is not a good fit for iron-on adhesives. The material may get dry, break, or become discoloured due to the heat.
The fix: Patches should always be sewn onto leather. Take your time, use sturdy waxed thread, and a strong, sharp needle (a leather needle is recommended). In the best sense of the word, a patch is virtually permanent once it is sewn onto leather.
Fleece: Only Sew-On
Although fleece is comfortable and well-liked in Canadian winters, patches find it challenging. Heat can flatten the fleece’s fibres, creating a noticeable mark around the patch, and the fleece’s soft, raised texture makes it difficult for iron-on adhesives to attach evenly.
The best method for fleece is not to use the iron at all. Use a basic whip stitch or blanket stitch along the edge to sew your patch on. This maintains the fleece’s softness and integrity while securing the patch.
Fabrics to Avoid (or Use with Extra Caution)
Not every fabric plays nicely with patches. Here’s what to watch out for:
| Fabric | Why It’s Tricky | Best Workaround |
| Silk & Satin | Burns/discolors under iron heat; slippery surface doesn’t grip adhesive | Sew on by hand only |
| Nylon | Can melt under high heat | Use fabric glue or sew on |
| Spandex/Lycra | Warps under heat; stretches unevenly | Avoid iron-on; sew carefully |
| Sheer/Thin Fabrics | Adhesive bleeds through; stitches visible | Use a backing stabilizer + sew on |
How to Attach Patches to Clothes: 3 Methods Explained. Now that you know the best fabrics,
Let’s talk about the three major techniques to attach patches – and when to use each.
Method 1: Quick and Simple Iron-On Patches
Heat-activated adhesive is used on the reverse of iron-on patches. They form a solid, long-lasting connection when properly applied.
Step-by-step
- Set your iron’s temperature to medium (no steam).
- Put the item of clothing on a level, firm surface.
- Place the patch just where you desire it.
- Use a thin pressing cloth (parchment paper or cotton fabric) to cover.
- Don’t slide the iron; instead, press hard for 20 to 30 seconds.
- Before moving or wearing, let it cool fully.
- Turn the garment inside out and apply pressure from the back for an additional 20 seconds to increase security.
Cotton, denim, canvas, cotton twill, and poly-cotton blends (80%+ cotton) are the best materials.
Expert advice from Custom Patch Makers Canada: A few stitches around the edge are beneficial even for iron-on patches, especially on goods that are frequently cleaned. This significantly increases the patch’s lifespan.
Method 2: The Most Sturdy Sew-On Patches
The most durable and safe technique is sewing. It works on almost any kind of cloth, including polyester, leather, fleece, and delicate textiles that are heat-sensitive.
Step-by-step
- Secure the patch on the clothing using a pin.
- Use a colour that complements the clothing or the patch border when threading your needle.
- Apply a blanket or whip stitch all the way around the patch’s edge.
- Stitches should be short and closely spaced (approximately 3–4 mm apart).
- Trim the ends of the threads and knot tightly.
For leather: Use a thimble, waxed thread, and a leather needle. If the leather is thick, mark the stitch holes with an awl first.
The best materials are leather, fleece, denim, polyester, silk, and cotton.
Method 3: Temporary and Flexible Fabric Glue/Adhesive Backing
For fast applications, short-term placements, or products that won’t be heavily washed, fabric adhesive is perfect.
When to apply fabric adhesive:
- Patch placement experimentation before committing
- ornamental objects (bags, wall hangings, costume pieces) that won’t be cleaned
- Too-delicate fabrics for stitching or heating
How to submit an application
- After cleaning both surfaces, allow them to dry.
- Coat the patch back with a thin, uniform layer of fabric adhesive.
- For 30 to 60 seconds, apply strong pressure to the garment.
- Give it a full day to cure before wearing or cleaning.
Note: Fabric adhesive by itself rarely withstands long-term machine washing. Always combine it with stitching or an iron-on application for long-lasting effects.
Placement Advice for Optimal Visual Effect
The location of a patch is just as important as the method of attachment. The most common placement zones are as follows:
- Left chest: Traditional, polished, ideal for name tags and logos
- Right sleeve: Excellent for brand identifiers, rank badges, and team patches
- Back panel: Statement items, such as full-back patterns, band patches, and big emblems
- Front centre: Vibrant and noticeable on hoodies and jackets
- Collar or cuff: Understated yet fashionable for trendy appearances
According to a 2025 trend analysis, the popularity of jacket patches increased by 15%, with back panels and sleeve placement setting the standard in Canadian streetwear and sports apparel.
Care Tips to Make Your Patches Last Longer
Even the best-attached patch needs a little care:
- Wash inside-out on a gentle cycle
- Use cold water; hot water weakens iron-on adhesives
- Air dry when possible; dryer heat can loosen bonds over time
- Avoid harsh detergents or bleach near the patch area
- If an edge starts to lift, re-press with iron or add a few stitches immediately, don’t wait
Order Custom Patches in Canada, Built to Last
Now you know exactly which fabrics work best and how to attach patches like a pro. Whether you’re outfitting a hockey team, launching a streetwear brand, or creating corporate uniforms, the right patch on the right fabric makes all the difference.
At Custom Patch Makers Canada, we produce high-quality custom embroidered patches, iron-on patches, sew-on patches, and more all designed for Canadian climates, Canadian quality standards, and fast delivery across the country.
Get a free quote today at custompatchmakers.ca and bring your patch design to life.